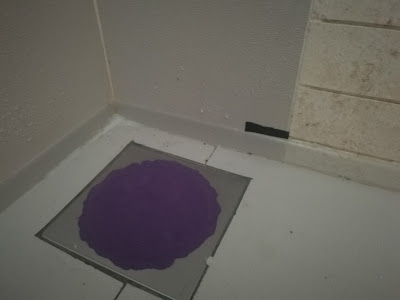
When i do a quick google on how to do this, only found 1 other blog about this. So here i will share the general steps to do water ponding test. The purpose of this test is to check water proofing of a new property bathroom , make sure no seepage of water down to floor below.
Few things to prepare before heading over to your new house :
a) Plasticine - these costs about RM1.50 per box at MR DIY - recommend one box per drain opening to cover - alternatively can use plastic but we tried & it didn't work well
b) Rag - to dry your feet/drain cover before you covering
c) More rag- to clean dust & make sure surface is dry before start
d) Tape & scissor - those that are water resistant are preferred
Press along perimeter of drain covers, then turn your tap on.
We read that it's about 5-10mm water you need to keep and pond for 2-3 days & then check downstairs for any water mark & also the water level against where you marked before.
Have to do by trial and error way since our friend YK in renovation field also mentioned that need keep trying if see any leak within 1 hr on site.
Below is our 2nd attempt with plasticine, seems ok. If no leak then it's good news, water proofing is good and we don't need to include in submission of defect checklist to developer's company. If not good, then many follow ups need to be done after submitting the defect checklist.
Alternatively (we tried as well) , you can use a plastic bag & plug it with the drain cover. Just try to observe the bottom part of the plastic bag when you pond. If you see round water drops pulsating it means there is leak somewhere or hole in your bag, swap a plastic bag and try to redo again the blocking.
Will update again in 2 days time (48 hours is the usual time we come back to check the ponding test), of course after waiting for ~30-60 min on site to make sure no mini-leak that makes the test wrong.
2nd time do.


this is useful! thank you.
ReplyDeleteHi what are the other common defects for Sunstone Villa? Bought a subsale.
ReplyDelete